Making Design Easy: Four Principles to Help Non-Designers Part 3 - Alignment
We're here again for the third part of our easy-going and enlightening journey in The Non-Designer's Guide to Customising Your ClickSell Studios Template series.
Today, we're going to explore the fascinating world of Alignment. It's all about creating a clean and smooth visual flow in your designs, making them a treat for the eyes and easy to read, as taught by Robin Williams in her book, The Non-Designer's Design Book.
The first post in the series was on Contrast, the second on Repetition, so if you haven't read those yet, take a look first. If you have seen them, thank you for continuing this journey with us.
Why we're doing this series
It's part of our commitment to helping you succeed in your business by using our templates as your starting point for creating your own unique products. The better and faster you are at customising our templates, the more products you can offer your own customers.
Our mission is to help people make the most of life by supporting them in mind, body and spirit. We're just two people but you help by re-creating our work in your own style, and spreading the wellbeing, confidence and joy that our templates can help spark in others.
We're bringing you these simple but essential design principles that can help you create great products, regardless of your experience.
Just imagine we're on a treasure hunt, and the treasure we're after today is understanding how to align your designs in ClickSell Studios templates. Get ready to uncover the amazing transformation that the right alignment can bring to your designs!
The Basics: What's Alignment All About?
Let's start with understanding what alignment is. Picture a neat and tidy room where everything is in its place and there's a clear order to things. That's what alignment does for your designs.
It ensures every bit of your content, whether it's text or an image, has a connection with something else on the page so that your readers easily understand what to look at next. This makes your content a breeze to understand.
Alignment is everywhere in our world - our brains love it!
Aligning Text: Creating a Visual Connection
Aligning text is all about organizing your written content on a page in a way that creates clear lines and structure, leading to better readability and aesthetics. It involves not just the alignment of text within a text box (like left, right, or center), but also the alignment of text boxes in relation to each other and to other elements on your design. This can help guide the viewer's eyes through the content and create a pleasing sense of order.
Let's take a closer look at the different ways you can use text alignment.
a. Left, Right, Center, and Justify:
These are the basic types of text alignment that you're likely already familiar with.
Left alignment is when your text is aligned along the left margin. This is the most common type of alignment in languages that read left-to-right, like English, because it provides a consistent starting point for each line of text, making it easy to read.
Right alignment is the opposite, aligning your text along the right margin. This can create a more formal or designed feel and is often used in languages that read right-to-left, like Arabic.
Center alignment positions your text equally between the left and right margins. It's often used for headlines or short lines of text, as it can be harder to read in long paragraphs.
Justify alignment aligns your text along both the left and right margins, creating a block of text with straight edges on both sides. This is commonly seen in newspaper columns and books. It’s our least preferred alignment, because it adds spaces between words. While that’s fine for the narrow columns of a newspaper, it can really interrupt the flow of words on a page.
b. Aligning Headers and Body Text
To create a visual connection between different blocks of text, you can align your headers with the body text that follows.
For instance, if you have a left-aligned header, you could align the body text below it to the left as well. That creates a strong vertical line on the left side of your text block. This helps guide the viewer's eye and creates a sense of consistency and structure.
c. Aligning Text Across Columns or Boxes
If your design involves multiple columns or text boxes, aligning the text in these can create a clean, streamlined look. For example, if you have two columns of text side by side, you might align the text in each column to the top, so that the first line of text in each column starts at the same height. This can help visually tie the columns together and make it easier for the viewer's eye to move between them.
Remember, the key to effective text alignment is consistency. Whatever alignment choices you make, try to keep them consistent throughout your design to create a cohesive look and feel. And, as always, don't be afraid to break these rules if it serves your design!
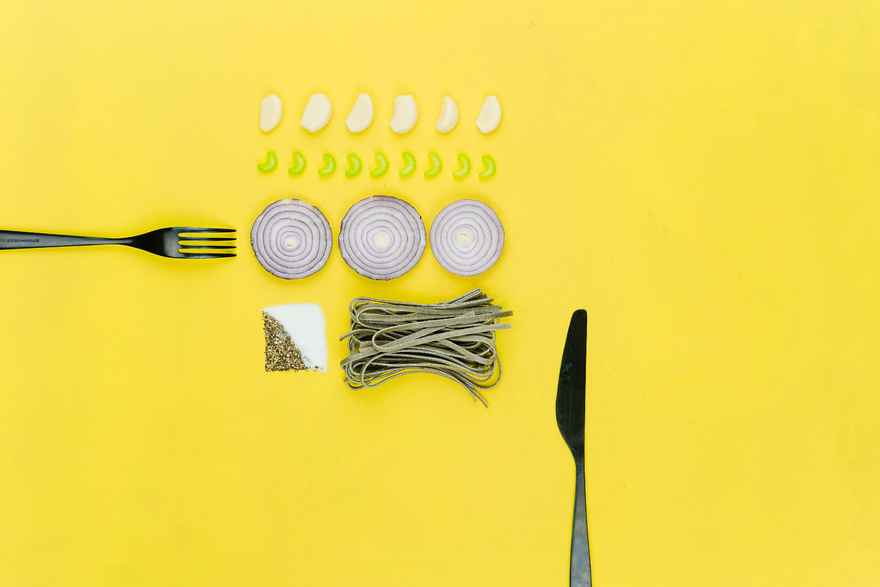
Images and Icons: Building Visual Flow
Images and icons add visual interest to your design and can communicate ideas quickly and effectively. There’s a huge range of free icons in Canva, and you can get great icon sets from places like Free Icon.
Aligning these elements with other parts of your design helps to
create a cohesive look
guides your viewers' eyes
establishes relationships between different parts of your content.
Here's how you can use alignment with images and icons:
a. Aligning Images and Text
Consider a webpage or a flyer with an image and a block of text. If the left edge of the image lines up perfectly with the left edge of the text block, your design immediately looks cleaner and more professional. This also helps guide the reader's eye from the text to the image smoothly.
Here's an example to paint a clearer picture:
Imagine a blog post about baking a cake (let’s hope it doesn’t have the entire life history of the baker included).
The title, "Baking a Perfect Chocolate Cake", is aligned with the text below it, detailing the baking process.
To the right, there's a tantalizing picture of a chocolate cake, its left edge aligning with the text. This setup not only looks neat, but also seamlessly guides the reader's gaze from the title, through the text, to the image.
And, the image draws the eye to the title, and on to the text. So they support one another.
b. Aligning Icons with Each Other
In designs where you have multiple icons, aligning them neatly creates a sense of order.
Think about a row of social media icons at the bottom of a webpage. If they're all aligned horizontally, and there's equal spacing between each, it feels balanced and systematic. Your viewers can easily identify each icon and the overall design feels harmonious.
c. Aligning Images or Icons with Other Elements
Alignment isn't just about placing elements along a line; it's also about creating visual connections between elements.
For example, you might align an image with a specific piece of text that it's related to, or align an icon with a button or a call-to-action.
This can help establish a relationship between these elements and guide the viewer's eye from one to the other.
Take a website homepage as an example. Suppose there's a key message in the center "Experience the Thrill of Skydiving!" with a 'Book Now' button right below it. On the left, there's an image of a skydiver in action. If the top edge of this image aligns with the top edge of the key message, it visually links the thrilling image with the message and the call-to-action.
Alignment helps create visual relationships, guide the viewer's eye, and give your design a professional, organized look. But - all rules are made to be broken, right?
Using Misalignment for Emphasis: Shaking Things Up
Sometimes, disrupting the flow can help to highlight or emphasize a specific element.
It's like a small surprise in the middle of a rhythm - your eye is following along and then, boom! Something is out of sync, and it catches your attention immediately.
Here's how you can creatively use misalignment:
a. Highlighting Key Information
Misalignment can be a powerful tool to make your most important information stand out.
Imagine you're creating a flyer for a music concert. The name of the band, date, and location are all aligned nicely on the left. Suddenly, in the middle of the page and out of line with everything else, is the ticket price, maybe even in a different color or font. This disruption of alignment naturally draws the viewer's eye, ensuring they notice the ticket price.
b. Drawing Attention to Calls-to-Action
A Call-To-Action (CTA) is a prompt that encourages viewers to take some action, like "Sign Up Now", "Buy Now", or "Learn More". You want this to stand out, so consider breaking the alignment to highlight it.
For instance, in a neatly aligned webpage, a CTA button that's slightly out of line with other elements will draw attention, increasing the chances of the visitor clicking on it.
c. Creating Visual Interest
Sometimes, you might want to break the alignment just to add some visual interest or creativity to your design.
For example, in a grid of images, you could have one image break out of the grid, maybe even overlapping with the grid boundaries. This adds a bit of unpredictability to the design and makes it more engaging.
But use it sparingly - it can just look messy. If too many things are out of alignment, your design can start to look messy or confusing.
Harmony in Alignment and Contrast
Alignment and contrast, although different, can work together to create visually appealing and effective designs. When you use these principles together, it's like mixing the perfect cocktail - each ingredient enhances the other, resulting in a delightful blend of harmony and excitement in your designs.
Here's how alignment and contrast can work together:
a. Aligning Contrasting Elements
Contrast is all about difference - large versus small, light versus dark, modern versus vintage, etc. Now, when you align these contrasting elements, it can create a powerful visual impact.
For instance, imagine a poster with a large, bold headline and a smaller, subtler subheadline beneath it. If the left edges of the headline and subheadline are aligned, it ties the two contrasting text elements together into a cohesive unit, guiding the viewer's eye smoothly from the headline to the subheadline.
b. Using Misalignment to Enhance Contrast
As we discussed earlier, breaking the alignment can draw attention to a specific element. This can be further amplified by using contrast.
For example, let's go back to the music concert flyer. Imagine that the misaligned ticket price is not only out of line with the rest of the text, but it's also in a bright red color while everything else is in black and white. Here, the misalignment and the contrasting color work together to make the ticket price stand out even more.
c. Combining Alignment and Contrast to Create Visual Hierarchy
By using alignment and contrast together, you can create a visual hierarchy, guiding your viewer's eye from the most important elements to the least important.
Let's take a webpage as an example.
At the top, there's a bold, large, center-aligned headline (high contrast and central alignment). Beneath it, left-aligned subheadlines and text introduce less important information (lower contrast and left alignment). Here, the combined use of alignment and contrast clearly directs the viewer's gaze, helping them understand the content flow.
In a nutshell, while alignment gives your design a neat and organized look, contrast adds a dash of drama and emphasis.
When used together effectively, they can create designs that are not just visually pleasing, but also effective in communicating your message.
Next Up: The Principle of Proximity
We have one more essential design principle to explore - Proximity. This principle is all about grouping related items together to create clear, intuitive designs that resonate with your viewers.
From understanding how to group elements effectively to learning when to break these groups for added impact, we'll delve deep into the world of proximity. By mastering this principle, you'll take your design skills to the next level, creating layouts that not only look beautiful but are also easy for viewers to understand and navigate.
We are thrilled to have you on this design journey with us. Together, we'll keep unlocking the potential of your ClickSell Studios templates, making the digital world a more beautiful place, one design at a time!
Create Winning Digital Products with our FREE Tool Kit!
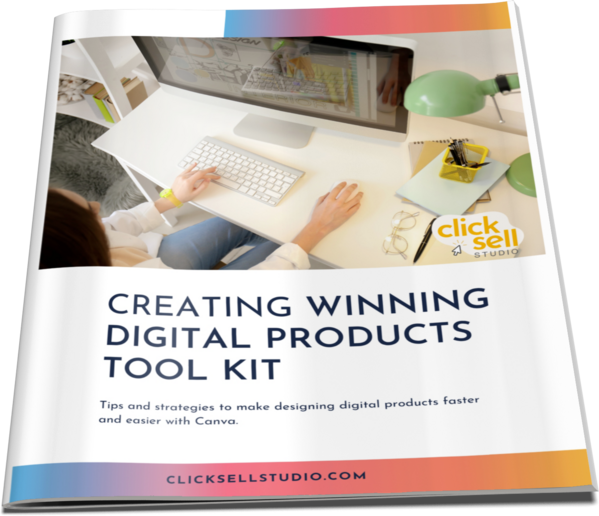
Enter your name and best email addie >>> and we'll send you our subscriber-only Tool Kit. It's packed with amazing resources and information to get you creating in Canva fast. And, every time we email you'll receive a great discount coupon for our new products.
Browse our Templates
Discover tools designed for your success! From customisable cards to templates designed to add high quality products to your business, our collection is tailored for coaches, entrepreneurs, and resellers. Explore now and find the perfect fit for you.
Elevate your Printables Business: Productivity Power-Up Course
for your most productive week yet
Unleash your potential with Productivity Power Up: A one-hour, value-packed course offering a synergy of tools to streamline your entrepreneurial journey, all for just $9 (valued at $37).
Financial Wellness Prompted Journal and Tracker
Unlock the power of financial wellness with our customizable Journal Template, the ultimate tool for coaches and resellers that offers a valuable mix of affirmations, visualization exercises, and practical guidance to help foster prosperity and growth.
Abundance Guided Journal Canva Template for Commercial Use
Kickstart your passive income journey with our customizable Gratitude Journal Editable Canva Template, designed to save you time while offering a beautifully prepopulated journal filled with gratitude prompts and reflections across over 50 pages.
0 comments
Leave a comment